Jumping Jack Construction Instructions
Patience Young Grasshopper…
Let’s begin with a short disclaimer…my jumping jacks are not designed for most children, but for playful adults. Think of them as elevated adult coloring books. Instead of adding color, you’ll be cutting, threading, knotting and engineering. My hope is that these little wooden “jacks” will help you expand your childlike joy.
Ready, Set, Go!
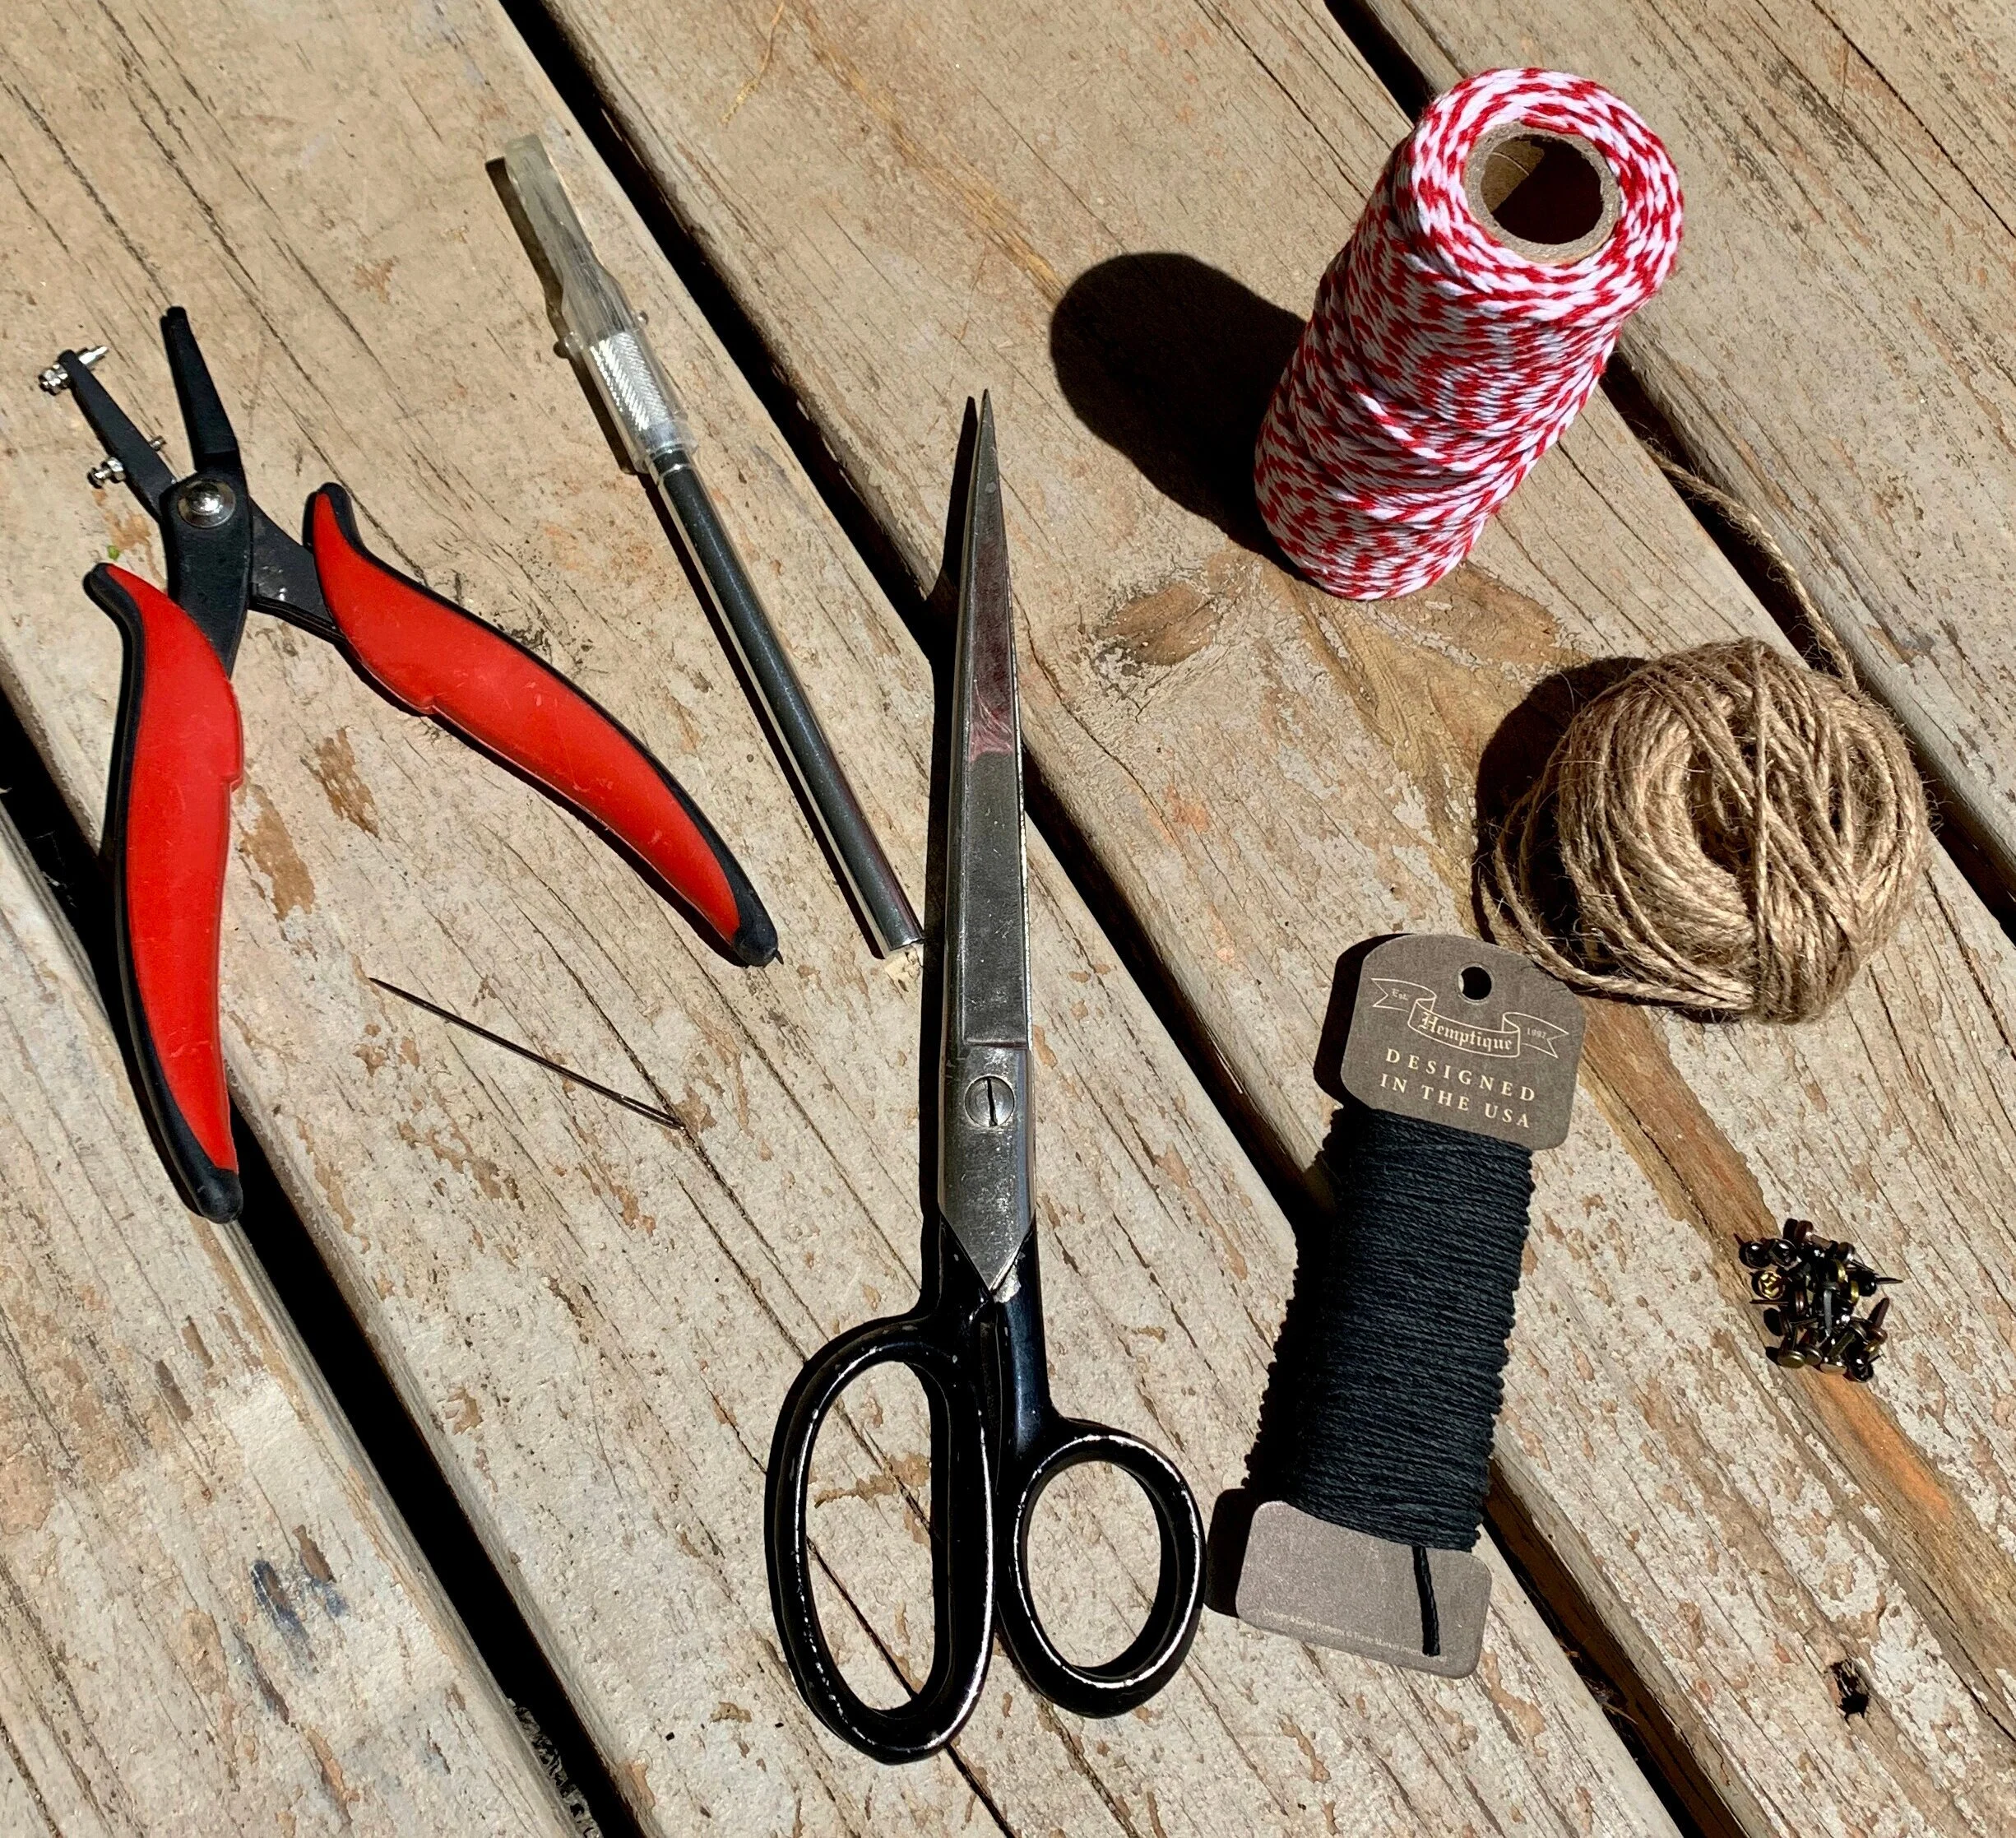
Tools: (from left to right) jewelry hole punch, sharp thick needle, craft knife, sharp scissors, hemp jewelry string, bakers twine, twine (approximately 3 yards), small scrapbooking brads (optional) nimble digits (not pictured)
Using the right tools can make all the difference!
Step 1: Separate all pieces of wooden jumping jack by roughly cutting apart each piece with sharp scissors or craft knife.
Separate pieces.
Step 2: With more precision, cut out each printed piece slightly outside the black edges. (Gently put aside any obsessive-compulsion and refrain from cutting every hair clump or bump.) Keep edges smooth (not jagged) in order to create an easy environment for swinging limbs!
Carefully cut the details.
Step 3: Using a thick, sharp needle or a jewelry hole punch, create small holes at each letter indication. Be careful not to punch too close to the edge.
Punch or pierce all holes in each piece.
Step 4: Lay all trimmed pieces on a flat surface in order of corresponding letters.
Thread a 5” piece of string through the knee at letter “i” and knot on the front (printed side.)
Thread the same piece of string through the foot piece at letter “i” BEHIND the knee piece and knot close to the hole on the back (unprinted side.) Use small scrapbooking brads as a substitute for string if needed. Do the same for the “j” leg. Make each “joint” attachment loose enough to allow for free swinging motion. Trim all excess string.
Trim extra string ends.
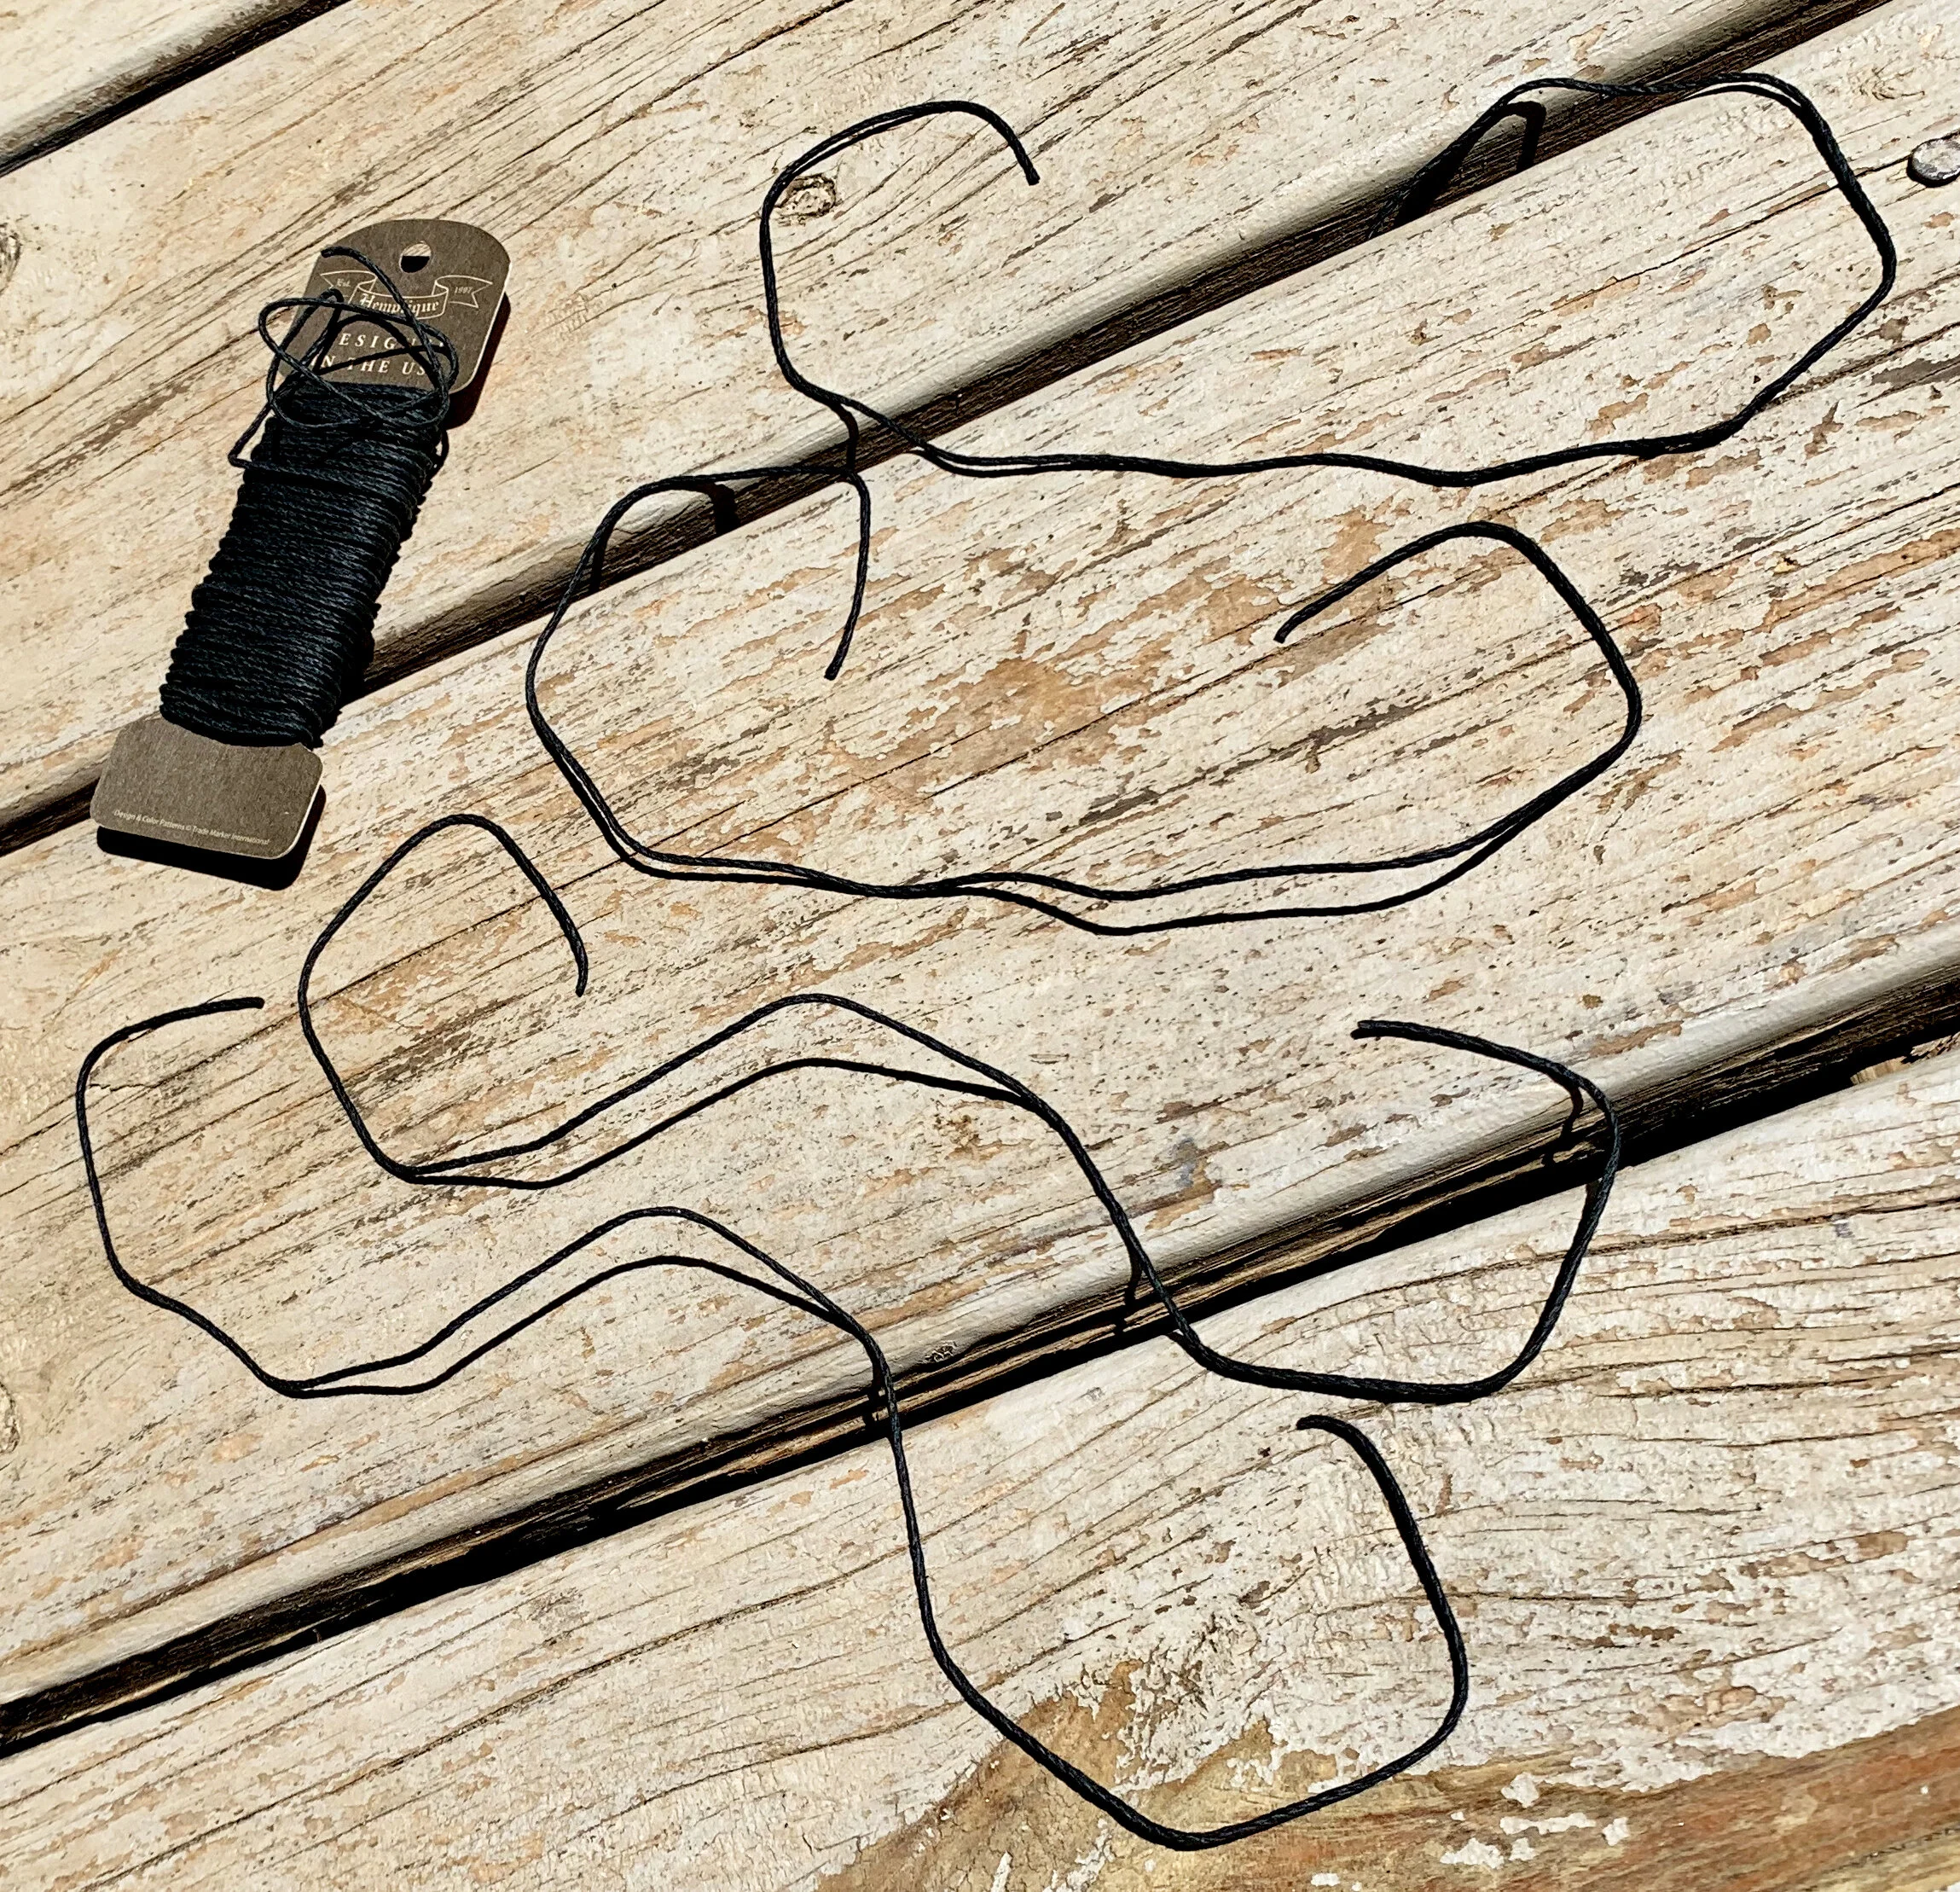
Step 5: Cut four 18” pieces of string, twine or thread and attach them to indicators A, B, C, and D with firm square knots.
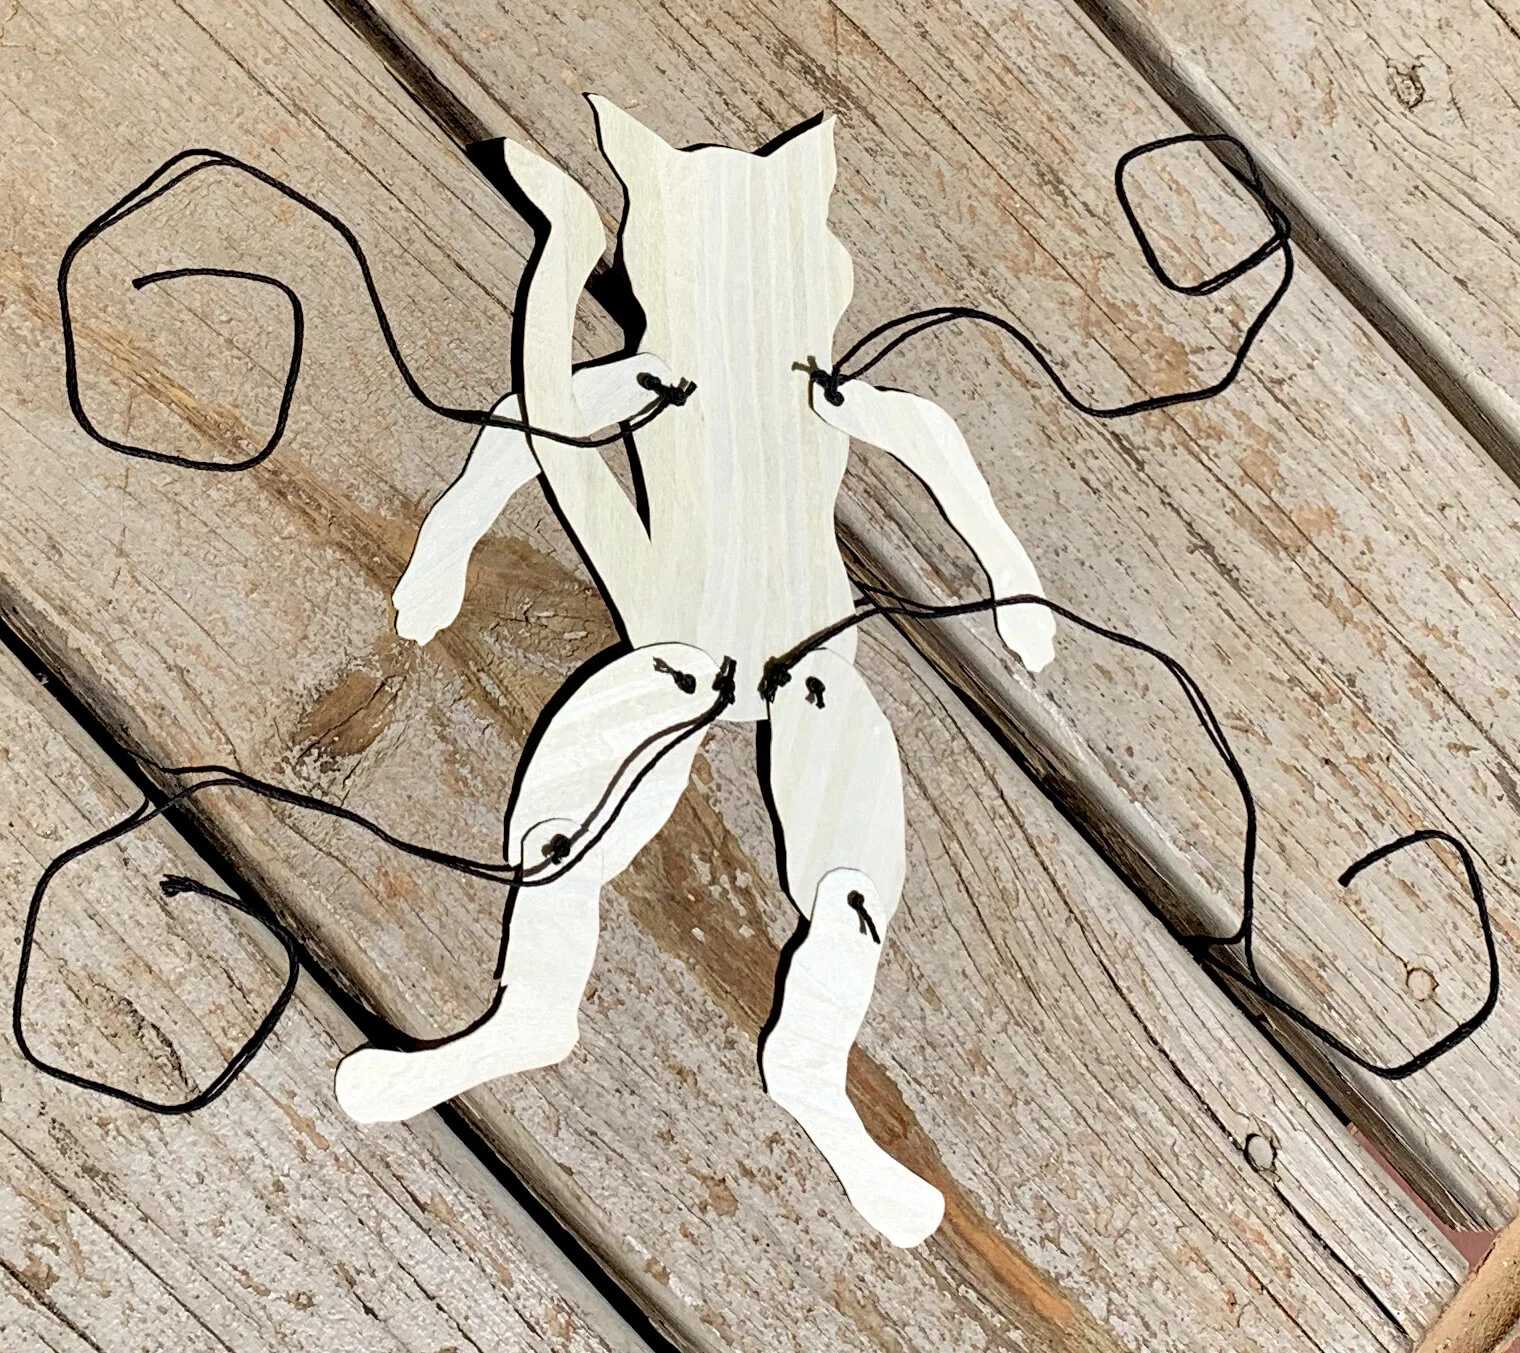
Arms and legs coming to life!
Step 6: Place arm and leg pieces BEHIND each corresponding letter indicator on the body. Attach limbs with string, twine, or thread using small knots as in step 4. Use small scrapbooking brads as a substitute for string if needed. Once again, make each “joint” attachment loose enough to allow for free swinging motion. Trim excess string.
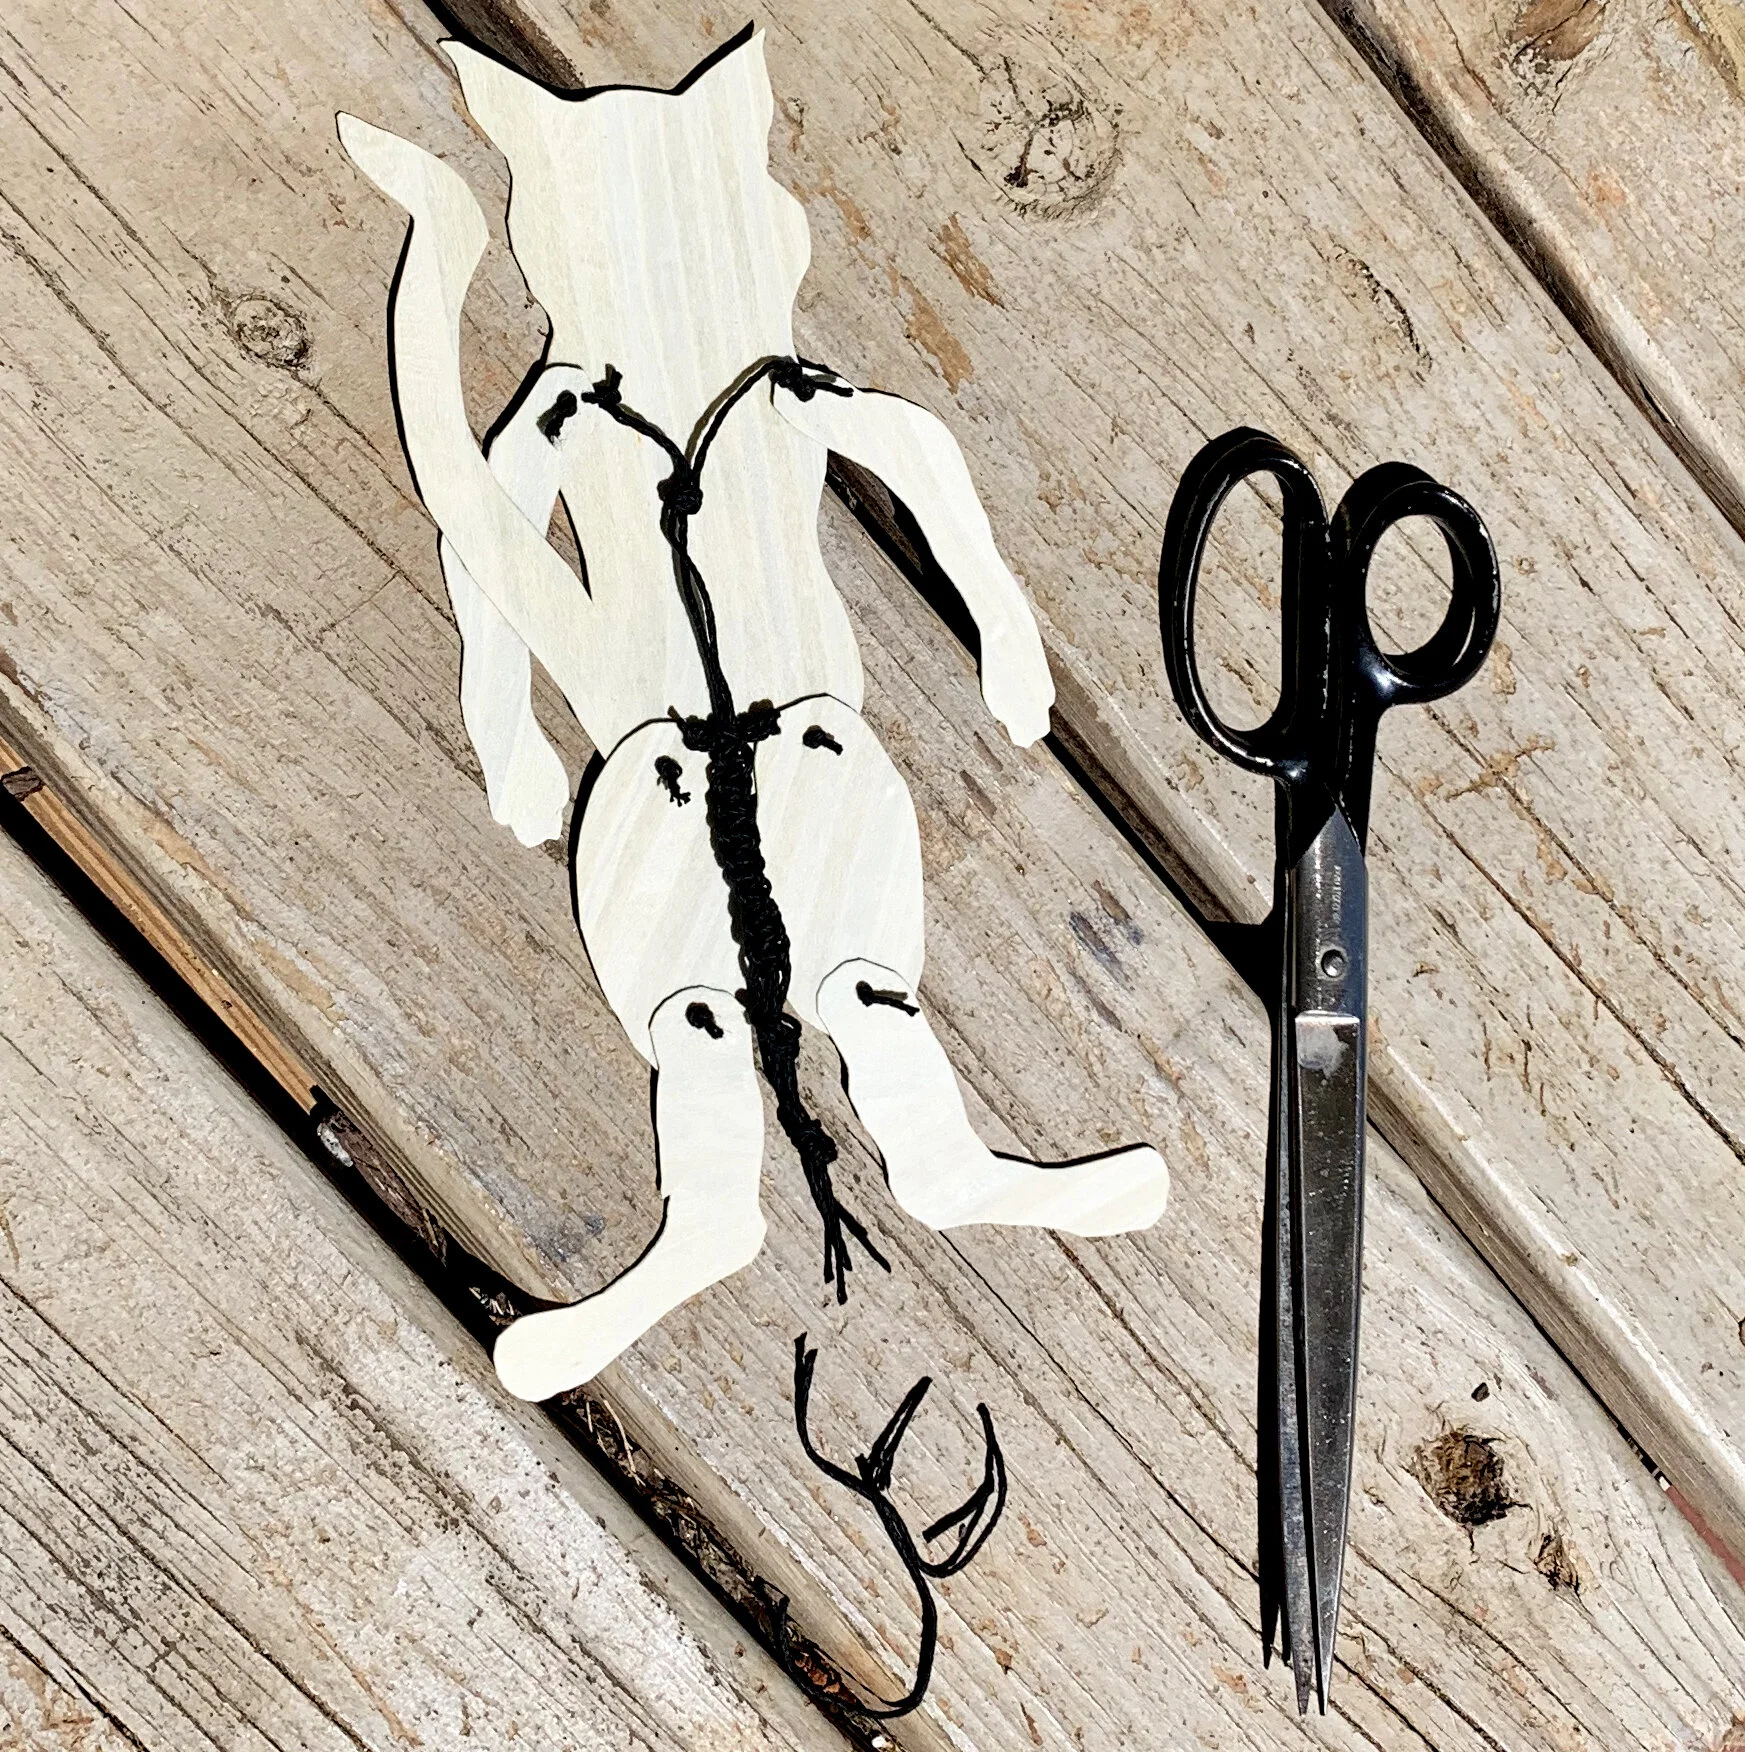
Step 7: Place jumping jack face down, with arms hanging in a resting position (dangling beside the body) collect the two arm strings and tie them evenly together with a knot. Test if the knot is in the correct place by pulling the knotted arm strings in a downward motion. If it’s right, the arms should rise and fall at the same rate.
Step 8: Place jumping jack face down once more, with arms and legs hanging in a resting position (legs dangling straight below the body). Place arm strings between the two leg strings and knot all FOUR strings evenly together as in step 7. (If you know simple macrame, use it here to create a super-fancy pull string.) Continue knotting the four strings together for approximately 3 inches, or until you run out of string. Trim ends evenly.
Step 9: Punch a small hole at the indicated spot on the forehead of jumping jack. Thread a 5” string, twine, or waxed thread through the hole and knot ends together.
Oh, he’s cute!
Step 10: Hang jumping jack in any place you frequent that needs a little levity.


